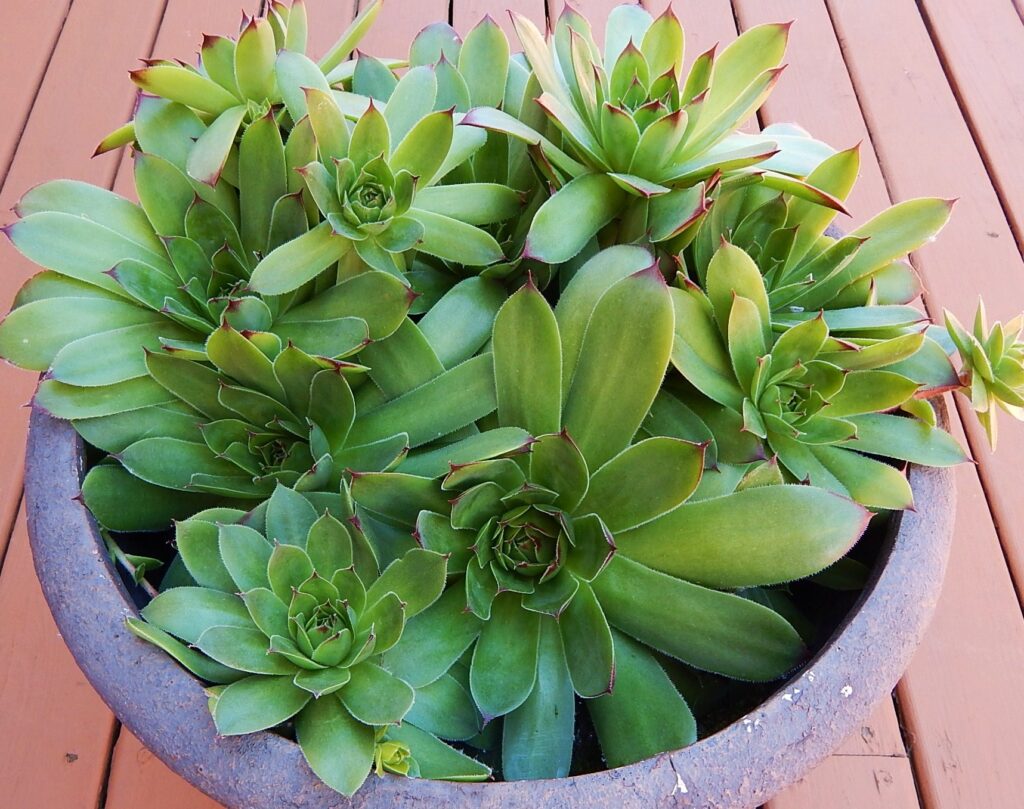
Quick answer: Start with your phone’s normal Photo mode, one household object, and a clear surface beside a window. Choose daylight without direct sun falling on the subject, simplify the background, and tap the subject to focus where your phone supports it. Take three variations, then crop and lightly adjust your favorite. No new camera or paid editing app is needed for this project. Window-light and focus guidance comes from Adobe and official phone documentation; controls vary by device. (adobe.com)
Suggested session: Allow roughly 20–30 minutes, or split setup, shooting, and editing into separate short sessions. This is a planning estimate, not a requirement. Use items you already own to avoid buying equipment.
1. Choose one subject and gather only the essentials
For your first session, try a small plant, a favorite mug, a wooden ornament, or a folded piece of textured fabric. Pick something you can comfortably position and leave still.
Give yourself one question to explore: What makes this object interesting? Perhaps it is the curve of a handle, the pattern of a leaf, or the worn surface of something you use every day.
Still-life photography offers a controlled setting for experimenting with subjects, textures, light, and composition. You do not need an elaborate arrangement to begin. (adobe.com)
For this project, gather:
- Your existing phone with its camera app.
- One manageable subject.
- A stable surface near a window.
- Plain paper, a cloth, or an uncluttered wall for the background.
- An optional white card to try as a reflector.
- An optional phone stand you already own.
Before shooting, gently wipe the camera lens with a soft, clean cloth. Google includes this in its official camera troubleshooting guidance. (support.google.com)
Start in ordinary Photo mode. Leave special effects and filters aside for now so you can compare changes in the actual setup.

2. Find useful window light—not necessarily the brightest spot
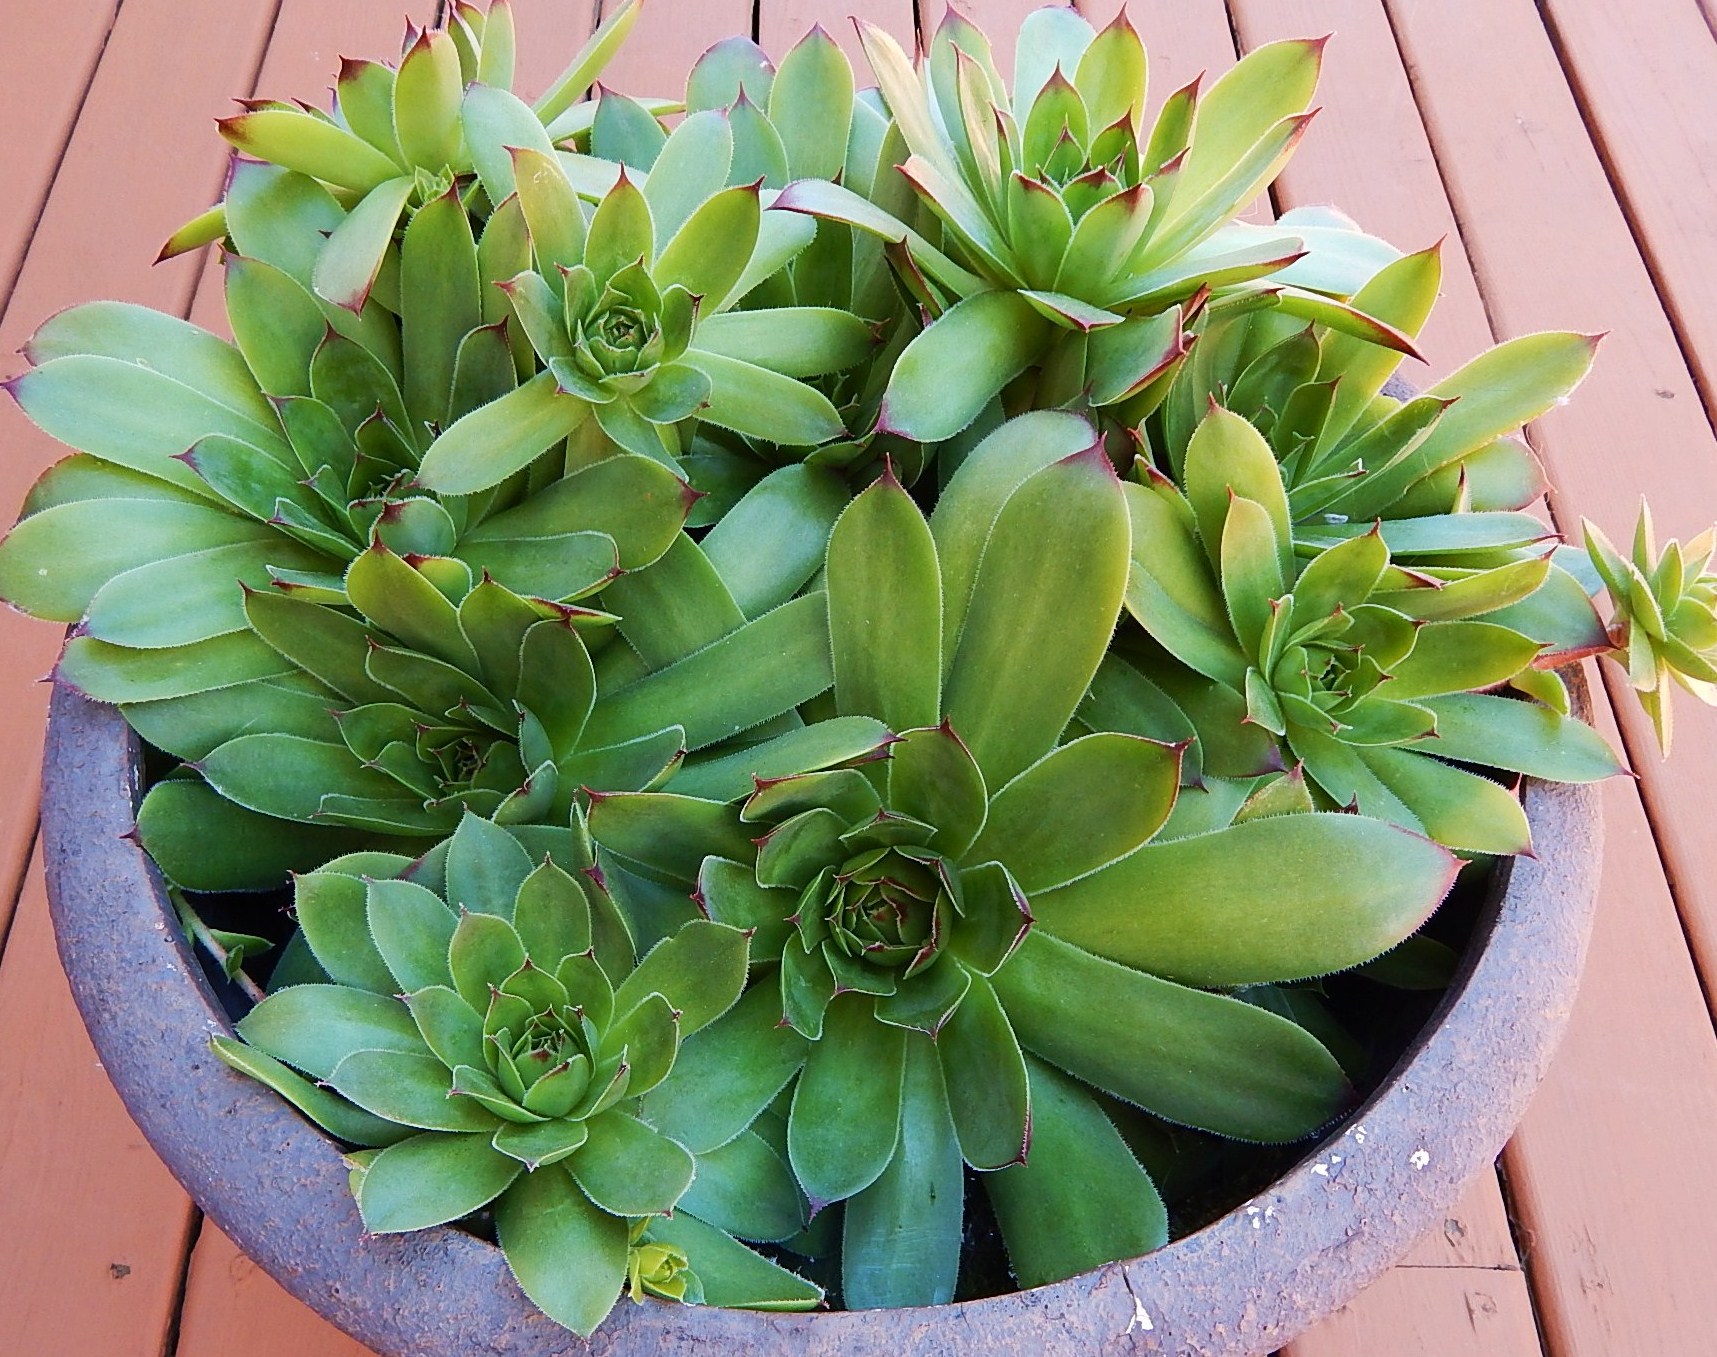
Look for a window that lights your subject without a direct beam of sun landing on it. Adobe recommends this as a straightforward indoor source of diffused light. An existing translucent curtain can soften direct sunlight; a heavy curtain may block too much light. (adobe.com)
For your first arrangement, place the window to one side of the object rather than directly behind it. Take a test photo, then inspect the bright and shaded sides. Treat this as a starting arrangement, not a fixed rule.
If you see sharply outlined shadows or glaring highlights, try moving the object out of the sunbeam or drawing a sheer curtain. Direct light produces stronger contrast and harder shadows than diffused light. Neither is inherently wrong, but softer light is the goal of this first project. (adobe.com)
Try switching off nearby room lights if you can still work safely. Adobe notes that mixing household overhead lighting with other light can introduce unwanted colors and shadows. (adobe.com)
If the shaded side seems too dark, experiment with a white card facing the window on that side of the subject. Compare a photo with it and one without it. Adobe describes white board as a household alternative to a purchased reflector. (adobe.com)
Do not worry about a particular window direction or hour. Judge the light you actually have.
3. Make the background simple and frame deliberately
Use a plain wall, a sheet of paper, or a cloth behind your subject. Choose whichever lets you arrange the scene without unnecessary lifting or reaching.
Try these two compositions:
- Centered: Place the object in the middle, with a little room around it.
- Off-center: Move it slightly to one side and leave some empty space beside it.
Neither needs to be the “correct” version. Comparing arrangements and camera angles is part of Adobe’s recommended approach to learning still-life composition. (adobe.com)
Before taking each photo, scan all four edges of the screen. Check for a distracting cable, an accidentally cropped handle, or a background line appearing to run through the subject.
If your camera offers a grid, use it as a guide rather than a rule. On iPhone, Apple documents Grid and Level under Settings → Camera. Other phones may place similar tools inside the camera app. (support.apple.com)
For this first attempt, use the ordinary camera view rather than immediately pinching to zoom. Adjust the subject’s position or move the phone only as far as is comfortable. If a close detail will not focus, back away and try again instead of assuming you need a special lens.


4. Position the phone comfortably and use simple controls
Set up the activity around a position you can sustain. There is no requirement to stand, shoot from above, or hold your phone throughout the session.
Consider these alternatives:
- Seated setup: Arrange a small object on a table within comfortable reach.
- Supported arms: Rest your forearms on the table while composing.
- Existing stand: Keep the phone fixed and rotate the subject between pictures.
- Shared setup: Ask someone to move the object while you choose the framing.
If you improvise a support, check that the phone cannot slide or tip. Keep it away from table edges and leave the camera lens unobstructed. Skip any arrangement that feels unstable.
On iPhone, tap the screen to choose the focus area, then drag the exposure control beside it to adjust brightness. Touching and holding the focus area enables AE/AF Lock. Apple also documents a camera timer, useful when you want to release the phone before capture. Menu layout depends on the software version. (support.apple.com)
On Pixel, Google documents tapping the subject to focus; some accessibility settings change this to a double-tap. Google also describes voice-triggered capture, although its availability and behavior should be checked on your device. These instructions should not be assumed to apply to every Android phone. (support.google.com)
If manual controls are difficult to access, leave the camera on automatic settings. The project is about noticing light and framing, not mastering every menu.
5. Worked example: make three photographs of a plant
Here is a suggested exercise, not a report of a tested shoot. Substitute a mug or ornament if moving a plant is inconvenient.
Set up the scene. Put a small plant on a stable table beside a window, with daylight coming from the side. Place plain paper behind it or use a clear wall. Position yourself and the phone comfortably before making adjustments.
Photo A: the whole object. Include the pot and the main leaves, leaving a small margin around them. Where supported, tap the leaf or feature you want sharp before taking the photograph. Official iPhone and Pixel documentation both describe selecting focus on the screen. (support.apple.com)
Photo B: a different arrangement. Keep the phone position similar, but rotate the pot. Look for a leaf that no longer overlaps another, or a shape that reads more clearly.
Photo C: one detail. Frame a single leaf or a cluster of leaves. If the preview remains soft, move farther away until it looks clear. You can decide on a tighter crop afterward.
Review the three images and ask:
- Which one shows the feature I originally noticed?
- Is the important detail sharp enough?
- Do I like the balance between light and shade?
- Is anything competing with the subject?
If you want another attempt, change just one thing: the rotation, background, framing, or lighting arrangement. Leave the others alone so the comparison is useful.
For a couple or family activity, let each person choose a composition of the same object. Compare preferences rather than selecting a winner.
6. Edit one favorite with a short, repeatable workflow
Choose one photograph before editing. For this project, use the editor already available on your phone rather than installing another app.
Apple’s Photos editor provides light and color adjustments, including Exposure and Highlights. Google’s Pixel editing documentation describes cropping in Google Photos, while noting that the route to the tool can vary. (support.apple.com)
Try this sequence:
- Crop: Remove unnecessary space or a distracting edge.
- Straighten: Adjust the image if a table edge or upright object looks unintentionally tilted.
- Adjust brightness gently: Stop when the object looks clear without losing the mood you liked.
- Check color: If your editor offers warmth or color controls, make a small change and compare.
- Review the original: Decide whether each edit actually helps.
- Save: Use a copy option if available and you want a separate version.
Apple documents comparing adjustments with the original during editing. On other devices, look for a before-and-after control rather than assuming the same gesture works. (support.apple.com)
Do not make dramatic editing a requirement. A simple crop may be all your photograph needs.
7. Troubleshoot the setup before adding equipment
Use these checks when the result is not what you expected:
| What you notice | What to try next |
|---|---|
| Strong glare or sharply defined shadows | Move out of direct sun or try an existing sheer curtain. |
| Unwanted color or extra shadows | Compare with nearby room lights switched off, if safe. |
| The phone seems to focus elsewhere | Select the intended feature using your device’s focus control. |
| The close-up remains soft | Back away and check the preview again. |
| A hazy-looking image | Check the lens and wipe it gently with a soft, clean cloth. |
| The arrangement feels uncomfortable | Lower the subject, sit down, or keep the phone supported. |
The lighting, focus, and lens-cleaning checks follow Adobe, Apple, and Google guidance; the positioning options are practical suggestions to adapt to your own comfort. (adobe.com)
Avoid changing everything at once. Also avoid treating a missing advanced mode as a barrier: Google explicitly limits some camera features to particular Pixel models. (support.google.com)
A successful first session can simply end with one image you prefer and one change you want to try next.
8. Check privacy before sharing—and keep the next step small
Before posting, enlarge the photograph and inspect the background and reflective surfaces. Look for mail, address labels, readable screens, private documents, or people who did not agree to appear.
Check location information too. Camera apps may save location data, and removing it does not remove visual clues within the picture. Google cautions that viewers may still infer a location from visible landmarks. (support.google.com)
When sharing through Photos on iPhone, Apple documents opening Share → Options and turning off Location. Apple also describes preventing future camera location collection through Location Services settings. These are specific Apple controls, not universal instructions for every sharing app. (support.apple.com)
For Google Photos or another service, inspect the relevant sharing settings. Do not assume that one app’s location policy applies to every way of sending a file. (support.google.com)
Sharing is optional. Keep your favorite privately, give it a simple title, or return to the same object another day. For the next session, try just one variation—a different background, a new angle, or another household object. There is no need to turn a short leisure project into an equipment list.