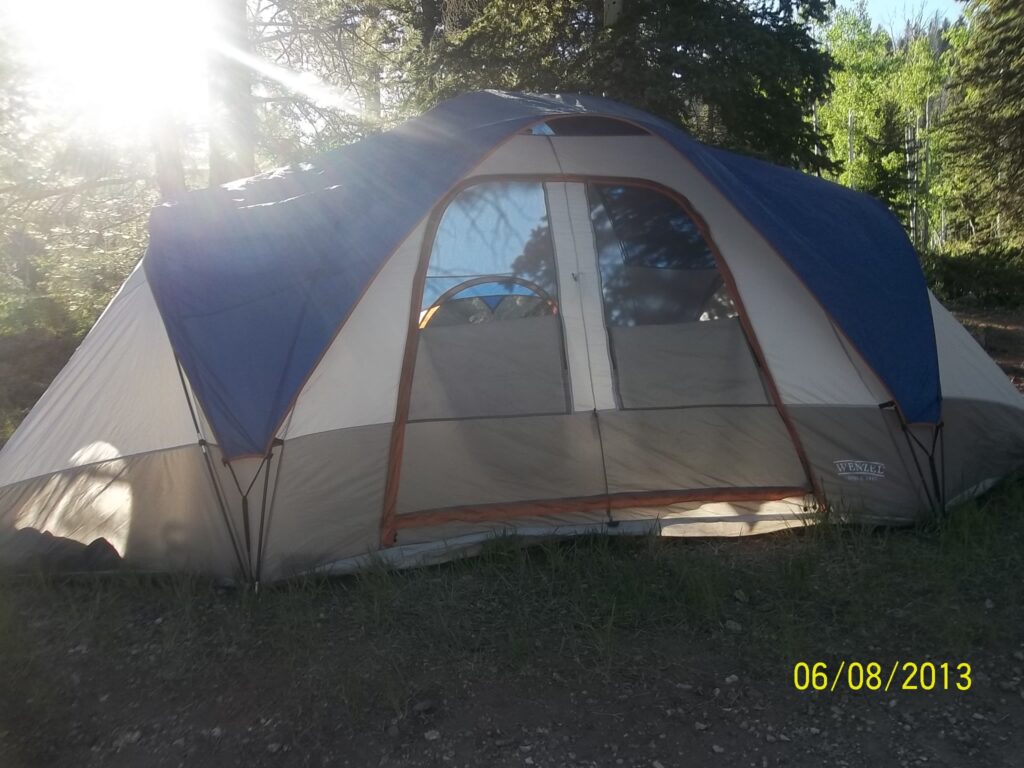
Quick answer: For a manageable first camping night, choose an established campground close enough for an easy return home. Verify toilets, drinking water, parking, food-storage rules and whether a one-night booking is allowed. Borrow suitable equipment, practice pitching the tent, arrive in daylight and keep meals simple. Postpone if conditions exceed your equipment or abilities. Managed facilities do not remove outdoor risks. (nps.gov)
The aim is to try sleeping outdoors—not to fit a wilderness expedition into a weekend. Give yourself one main activity: settling into camp. Reading, sharing a picnic or taking a short walk can be enough.
This checklist uses U.S. recreation-authority guidance. If you camp elsewhere, verify the equivalent rules with the campground operator or managing authority.
1. Choose a campground that removes unnecessary complications
Look for frontcountry camping: an established campground reached by road, often called car camping. This differs from a remote site where you must carry everything in. The National Park Service describes frontcountry campgrounds as having designated sites, but facilities vary; showers, drinking water and other conveniences should never be assumed. (nps.gov)
For this first stay, make a shortlist based on practical needs rather than scenery alone:
- Can you park at the site, or how far must you carry equipment?
- Are toilets available and open during your stay?
- Is there confirmed potable—drinkable—water?
- Is the tent area large enough for your borrowed tent?
- What food-storage equipment or arrangements are required?
- What happens if you arrive after the check-in desk closes?
These are the kinds of facility and rule questions the National Park Service recommends answering before arrival. (nps.gov)
Choose a journey you would be comfortable repeating if you decide not to stay overnight. “Close to home” is a personal limit, not a particular mileage.
If mobility or energy affects your choice, ask specific questions. Request information about the surface and distance between parking, the tent area and toilets; steps; restroom access; and seating. An “accessible” label is a starting point for checking whether the facilities meet your needs, not an answer to every question. (nps.gov)
Common mistake: choosing the prettiest photograph before checking the overnight facilities. Save the listing, campground map and relevant rules before paying.
2. Confirm that one night is bookable—and understand the cost of changing plans
Check the actual campground and individual campsite listing. Some sites require reservations; others operate first-come, first-served. A campground name alone does not establish how your chosen site is booked. (nps.gov)
Before committing, confirm:
- Whether your dates allow a one-night stay.
- Whether the site accepts tents and your group size.
- Check-in, checkout and late-arrival procedures.
- The total charge, including any separate entry or parking fees.
- The cancellation deadline and applicable fees.
- How to cancel, and what happens if you leave early.
Recreation.gov states that policies on individual location pages override its site-wide policies. Do not assume that another campground’s cancellation rules apply to yours. (recreation.gov)
Use this budget worksheet rather than relying on a generic “cheap camping” figure:
Trip cost = campsite booking + separate entry/parking charges + transport + equipment hire or purchases + food and supplies.
Enter the actual quoted amounts. Then note the amount you could lose by cancelling late. Borrowing gear avoids some purchases, but it does not make the whole trip free.
Practical check: set a reminder before the cancellation deadline to review your plans and forecast. Keep checking conditions afterward; a financial deadline should not become a reason to proceed with an unsuitable trip.
3. Borrow suitable gear and practice the complete setup
Ask to borrow a tent, sleeping pads and sleeping bags before buying a collection of camping equipment. Explain when and where you intend to camp so you can check whether the borrowed gear suits the expected conditions.
The National Park Service recommends matching a sleeping bag to the location’s temperature and weather. It also cautions that a two-person tent generally means room for two sleepers—not two sleepers plus all their equipment. (nps.gov)
Pitch the actual tent before departure. Read its instructions, inventory the parts and pack a copy of the instructions. REI recommends this practice setup so missing pieces and confusing steps are discovered at home rather than after dark. (rei.com)
During the practice:
- Identify the tent body, poles, stakes, rainfly and guylines.
- Assemble it using the instructions for that model.
- Fit the rainfly and required attachments.
- Place the sleeping pads inside to check usable space.
- Test doors, zippers and any inflatable pads.
- Pack everything back into its bags.
Model-specific instructions matter. For example, REI’s published Taj 3 instructions identify its own pole, stake and guyline inventory; those quantities are not a universal tent checklist. (rei.com)
If using a groundsheet, follow the tent maker’s guidance. REI advises keeping it within the tent-floor perimeter so exposed material does not catch rainwater beneath the tent. (rei.com)
Common mistake: borrowing a tent without checking that its rainfly, poles and stakes are present.
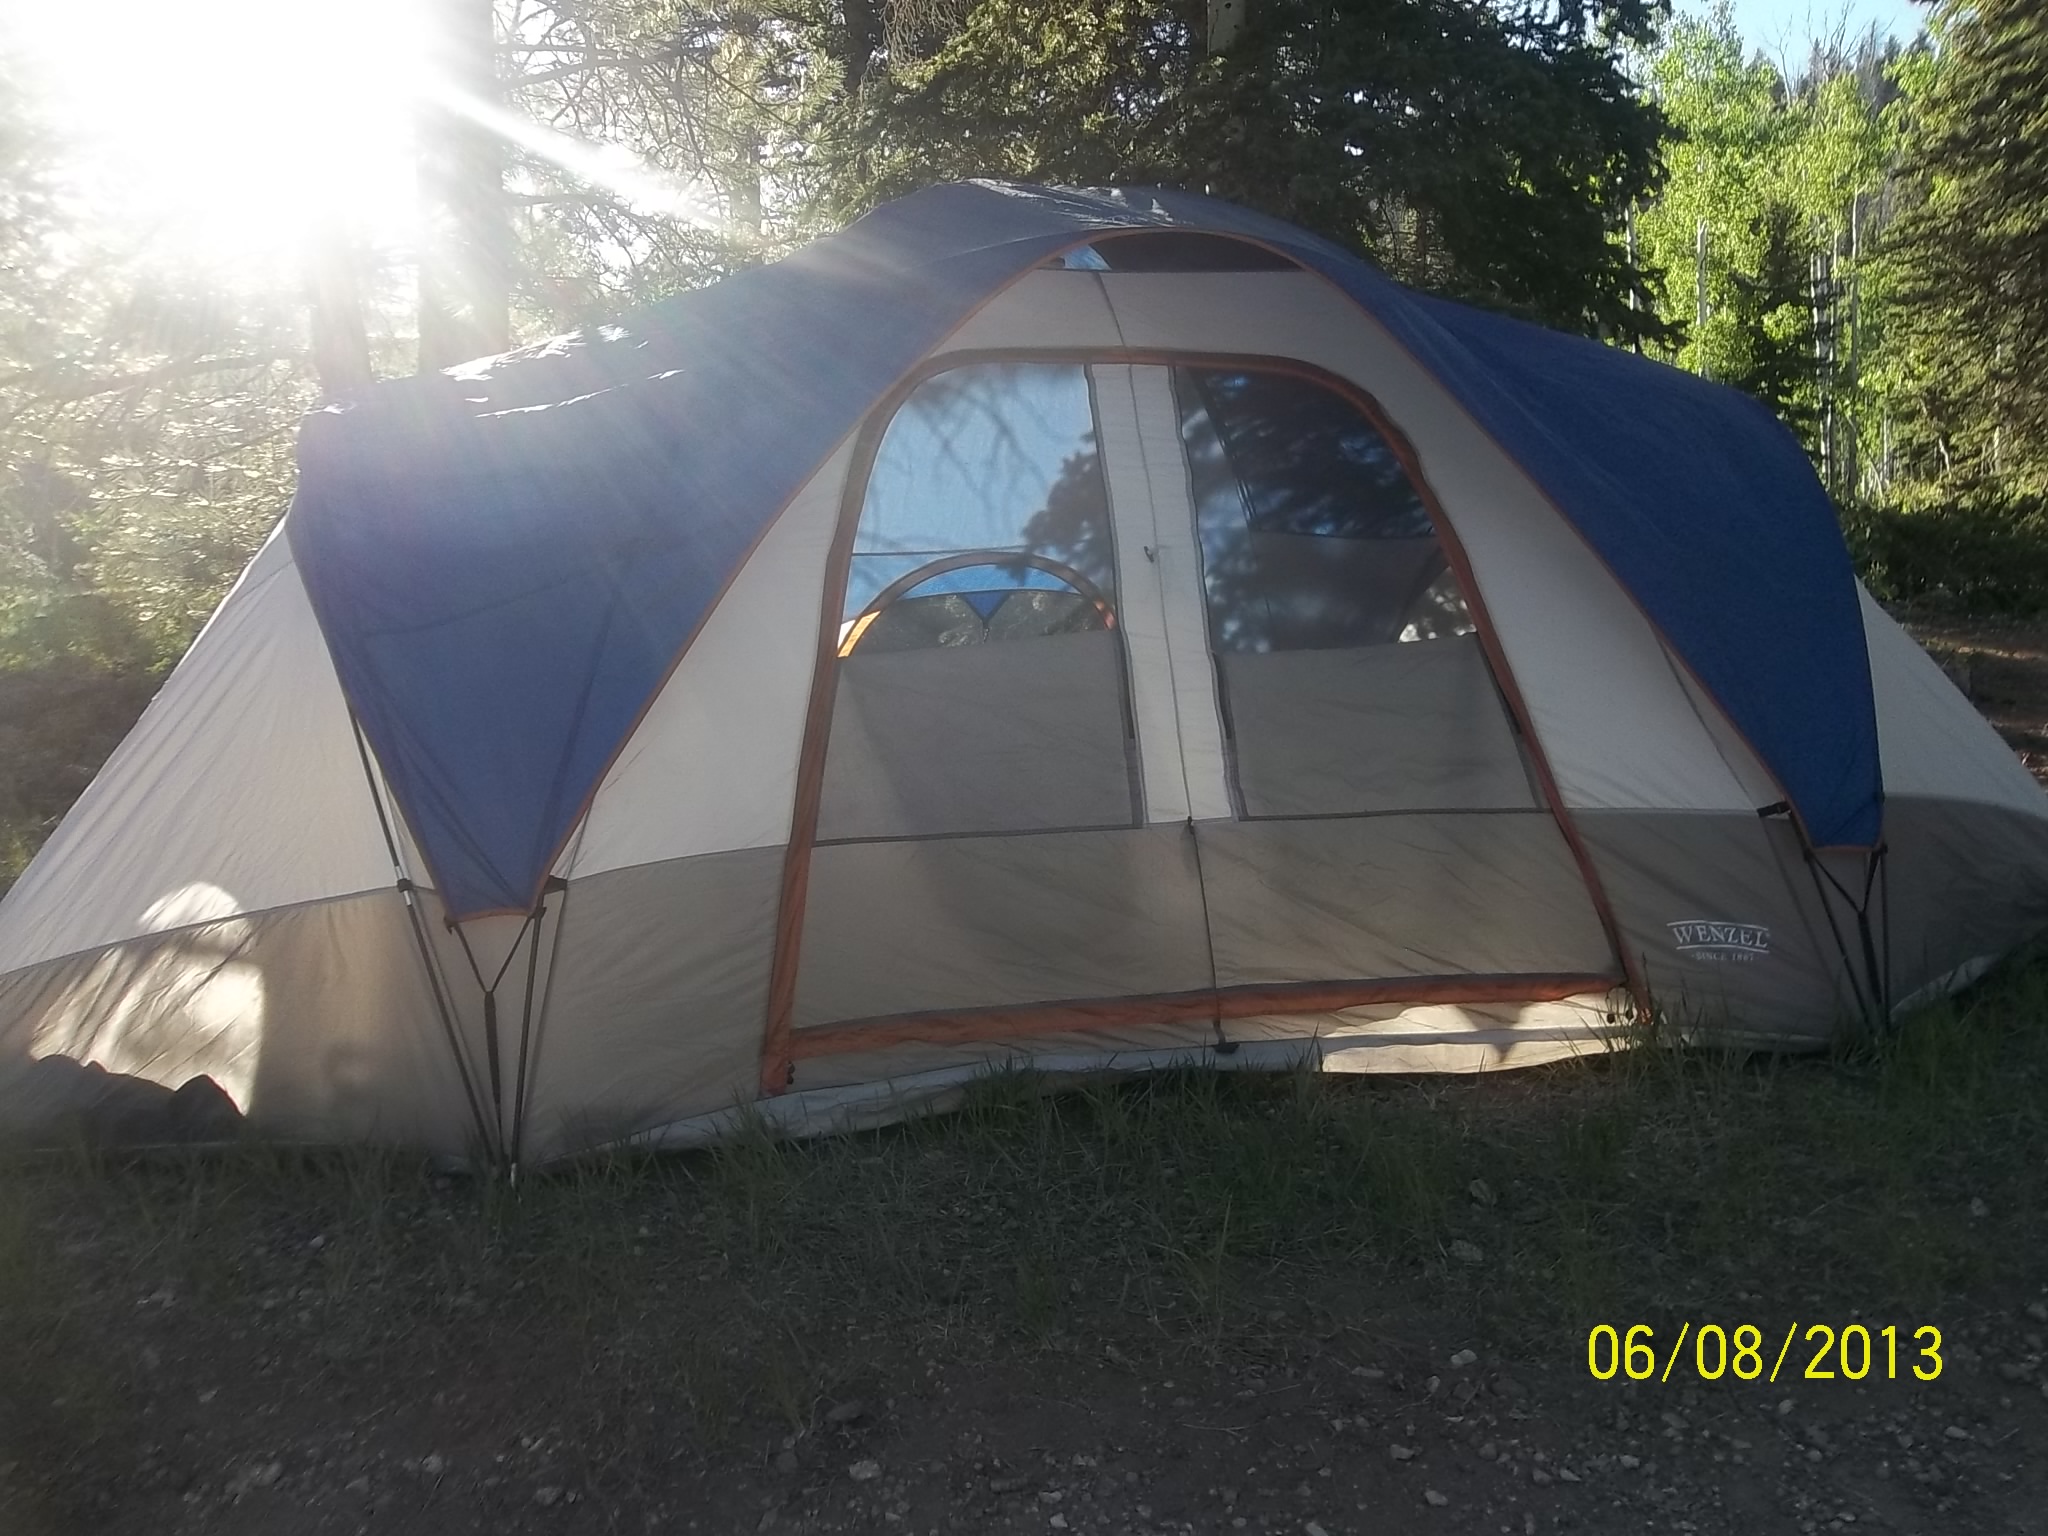

4. Pack a small, complete overnight kit
Keep your packing list tied to the campsite and conditions. For a fair-weather, road-accessible stay, begin with:
- Shelter: the checked tent, its complete setup parts and instructions.
- Sleep: a sleeping pad and suitable sleeping bag for each person.
- Clothing: layers appropriate to the forecast, rain protection and dry sleeping clothes.
- Water: filled drinking-water containers, plus water for meals and cleaning as needed.
- Food: dinner, breakfast, snacks and the required storage arrangement.
- Personal essentials: necessary medication, toiletries, toilet paper, a basic first-aid kit and appropriate sun or insect protection.
- Light and information: a working flashlight or headlamp, spare power, saved directions, campground information and booking confirmation.
The National Park Service’s packing guidance covers water, shelter, bedding and food, including the need for site-specific food storage. Treat the list above as a planning example, not a complete kit for every season or destination. (nps.gov)
For two adults, that might mean one shared tent, two pads, two suitable sleeping bags, one food bag stored as required, personal clothing and shared cleanup supplies. Leave the elaborate camp kitchen at home if you choose meals that need no cooking.
Add one comfort item each: a book, familiar pillow or preferred seat. Do not remove something you genuinely need for rest, access or comfort just to make the packing list shorter.
Practical check: pack the tent and lighting where you can reach them without unloading everything.
5. Make food storage—not campfire cooking—the priority
For a low-commitment first night, consider ready-to-eat meals using foods that do not require refrigeration before opening. Follow package directions, dietary needs and any instructions for leftovers. Plan breakfast with the same simplicity.
You do not need a campfire to make the stay count. If you want to cook, check current restrictions and practice operating your stove beforehand; the National Park Service recommends testing an unfamiliar stove before the trip. (nps.gov)
Verify food-storage rules before deciding how to pack. A sealed container may organize food and reduce odors, but it is not automatically an approved wildlife-resistant storage method. Requirements differ between parks and campgrounds. (nps.gov)
In bear areas, storage requirements can also cover toiletries, sunscreen, trash, coolers and utensils—not just edible food. The National Park Service specifically identifies scented and food-associated items as needing proper storage. (nps.gov)
At camp:
- Put required items into the designated storage arrangement.
- Keep food attended while using it.
- Clean up scraps and packaging promptly.
- Follow the campground’s waste and washing instructions.
- Never feed wildlife. (nps.gov)
Common mistake: assuming that every campground permits food in a parked vehicle, or that an ordinary cooler satisfies bear-storage rules. Ask the operator if the published instructions are unclear.
6. Check overnight conditions and decide when to postpone
Check the forecast for the campground, not only your home. The National Weather Service notes that conditions at an outdoor destination can differ substantially from those nearby. (weather.gov)
Review the overnight temperature, rain, wind and thunderstorm forecast. Also check the managing authority’s current alerts, access information and closure notices. Compare what you find with your equipment instructions and your ability to manage the conditions.
For a beginner’s trial, choose another date if:
- Expected temperatures do not suit your bedding.
- Significant storms, flooding or strong winds threaten the stay.
- The operator reports a closure or unsafe access.
- You cannot meet the food-storage requirements.
- You would arrive too late to set up comfortably.
- Someone is too tired or unwell to enjoy the trip.
These are conservative planning choices, not universal weather thresholds. The National Park Service advises understanding local risks, listening to staff warnings and knowing your limits. (nps.gov)
A tent is not lightning shelter. If you hear thunder, seek a safe enclosed building or appropriate enclosed vehicle—not a tent or open-sided picnic shelter. The National Weather Service advises waiting 30 minutes after the last thunder before returning to outdoor activities. Identify your shelter plan before the stay. (weather.gov)
Postponing is a successful planning decision. You are sampling a leisure activity, not proving that you can endure it.
7. Follow a relaxed itinerary—or try a day visit first
Here is an illustrative schedule, not a verified campground timetable. Adjust it to the actual check-in rules, daylight and travel time.
Before leaving: review conditions, load the checked equipment and tell someone where you are going and when you expect to return. Save directions and confirmation details; campground phone reception is not guaranteed. (nps.gov)
Mid-afternoon: arrive after the permitted check-in time. Find the toilets, water and storage facilities. Inspect the assigned tent area for hazards, including dead branches overhead, and set up before dark. (nps.gov)
Late afternoon: choose one optional activity: a short permitted walk, reading or sitting together. Keep enough time and energy for dinner and cleanup.
Evening: eat, store required items and respect the campground’s quiet hours. Keep your light and necessary personal items within easy reach. Quiet-hour rules vary by location. (nps.gov)
Morning: have breakfast, pack up, inspect the site for belongings and litter, and leave before checkout. If the tent is damp when packed, dry it thoroughly at home before storage or return. REI warns against storing a wet tent. (rei.com)
If overnight camping still feels like too much, try a day visit instead. Use a permitted picnic area, bring lunch and check the facilities you would rely on overnight. Confirm day-use access and fees first; do not assume an unoccupied campsite is available for a picnic.
After either option, ask three questions: Did I enjoy being there? What felt awkward? What one change would make another visit easier? Another night is optional.