How do you start drawing without specialist supplies?
Choose one ordinary object, a pencil and a sheet of paper. Look at its overall shape before adding details, then try one of the five projects below. Each has a suggested 15-minute limit—not a deadline or a promise of a finished picture. Pick whichever appeals to you; there is no required order.
1. Make a sketchbook from what you already have
For these projects, use this deliberately small kit:
- A pencil you already own.
- Ordinary paper, including the blank backs of used sheets.
- A firm surface to draw on.
- An eraser and pencil sharpener, if available.
An HB pencil is among the options in the National Gallery of Art’s introductory drawing lesson, which also uses familiar everyday objects as subjects. You do not need to collect every pencil grade listed there to try the activities below. (nga.gov)
Use loose sheets in a folder, a notebook or a few folded sheets. Treat this as a place for experiments rather than a book that needs an impressive first page. If you already have paper and a pencil, the projects require no additional purchase.
Choose a seated or standing position that suits you, with the subject somewhere easy to see. Leave space beside your drawing for a second attempt.
Before beginning, try three small marks: a light line, a darker line and a patch of parallel lines. The National Gallery explains that pressure changes tone and texture, while parallel lines—called hatching—can define forms. (nga.gov)
The timings below are suggested ways to divide a session. Skip the timer if it makes the activity feel rushed.
2. Project one: draw a mug by comparing shapes
Focus: Looking at proportions before decoration.
Choose a plain, empty mug and leave it in one position. For this first attempt, ignore any lettering, picture or complicated pattern.
Minutes 0–3: look without drawing. Ask:
- Is the body taller than it is wide?
- How much of the opening can you see?
- Where does the handle meet the body?
- What shape is the empty space inside the handle?
Getty describes the space between and around objects as negative space, noting that it has a shape of its own. Here, use the opening inside the handle as another shape to observe. (getty.edu)
Minutes 3–10: sketch the large shapes. Lightly mark the top, bottom and sides of the mug body. Draw the opening as you see it, then connect the sides to the base. Add the handle last.
Minutes 10–15: check one relationship. Compare the handle opening with the mug body. Correct one thing if you want to; leave the rest alone.
Worked example: Suppose your mug looks wider than it is tall, but your sketch looks tall and narrow. Before adding detail, draw a second small version beside it. Place the top and bottom closer together relative to the width. Compare both versions with the real mug and choose the one whose overall shape seems closer.
That example is hypothetical: your mug may have entirely different proportions. The useful step is checking your drawing against the object, not copying a standard “mug shape.”
Quick check: Did you draw the handle you actually see, or the handle you expected?
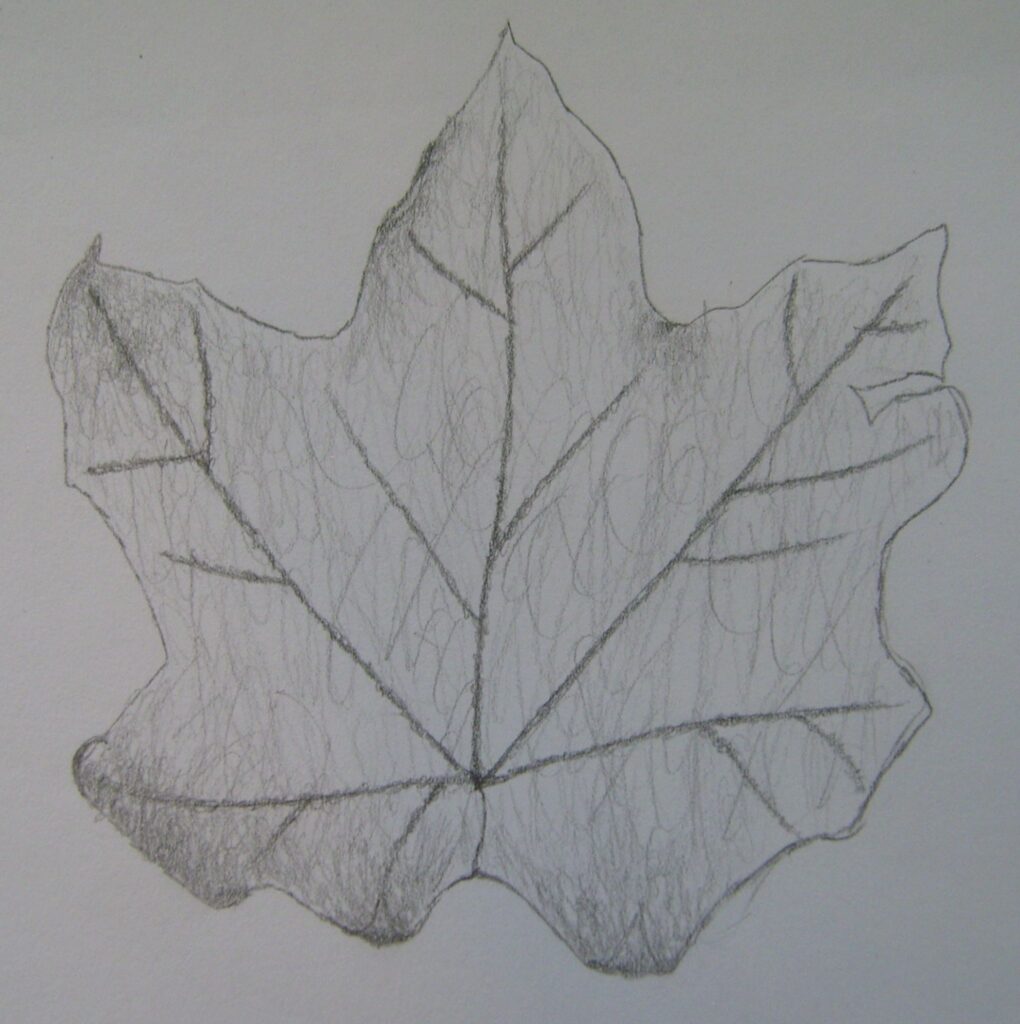
3. Project two: follow the edge of a leaf
Focus: Paying attention to an irregular outline.
Use a leaf you already have, a houseplant leaf still attached to its plant, or another small object with an interesting edge.
Contour drawing follows a subject’s outline. For a more playful variation, the National Gallery’s blind-contour exercise asks you to watch the subject while moving your pencil, without looking at the paper. (nga.gov)
Minutes 0–3: inspect the edge. Find the tip, the base and the widest part. Notice whether the sides match, curve differently or have small notches.
Minutes 3–9: draw the outline slowly. Start at one point and follow the edge with your eyes. Look back at your paper whenever you need to. Try not to replace what you see with a perfectly symmetrical leaf symbol.
Minutes 9–12: add selected details. Choose the central vein and just a few visible branches. There is no need to record every mark.
Minutes 12–15: try a tiny blind-contour version. Watch the leaf rather than the page as you draw its edge. Treat this as an observation experiment, not a test of resemblance.
If that variation feels frustrating, make a second ordinary outline instead.
Quick check: Can you point to one detail in the real leaf that you included? A bent tip or uneven edge is enough.
Optional next step: Turn the leaf to a different angle and try again on another day.

4. Project three: shade a spoon with three tones
Focus: Separating light, middle and dark areas.
Place a spoon on a plain surface. Choose an empty spoon rather than trying to draw your lunch before it gets cold.
Getty defines value as how light or dark something is and explains that artists can use it to suggest three-dimensional form. Its beginner exercise builds shading in layers and also uses hatching. (getty.edu)
Minutes 0–3: make a three-tone key. Draw three small boxes. Leave one as bare paper, give one light shading and make the third darker. These are your choices for this project.
Minutes 3–7: outline the spoon. Keep the outline simple. Check the size of the bowl against the length of the handle before adding anything else.
Minutes 7–13: place the tones. Look for a light area, a middle area and a dark area. Leave the lightest part unshaded. Use your other two tones for selected patches rather than trying to reproduce every reflection.
Minutes 13–15: compare. Have you left a clear difference between the three tones? If everything looks similar, darken one selected area rather than shading the entire spoon again.
Quick check: Are the dark patches where you observed them, or where you assumed a spoon should be dark?
Easier alternative: Use a plain box or piece of fruit if the reflections are distracting.
5. Project four: frame a small view from a window
Focus: Choosing what to include.
Pick a view you can see comfortably from indoors. You do not need an attractive landscape: part of a neighboring wall, a tree and a roofline can be your subject.
Start with a small rectangle on your paper. This is the boundary of the picture, not necessarily a drawing of the window frame.
Minutes 0–3: choose a crop. Select just a few elements. For example, include one roof, part of a tree and the sky between them. Decide what will stay outside your rectangle.
Minutes 3–10: draw the biggest shapes. Try describing them as flat shapes: a sloping roof, a rough patch of foliage and an open area of sky. Getty distinguishes geometric shapes, such as squares and circles, from organic or free-form shapes; both can be useful here. (getty.edu)
Minutes 10–13: add a few identifying marks. Choose a chimney, trunk or doorway. Leave repeated details, such as every brick or leaf, for another drawing.
Minutes 13–15: check placement. Compare where the main shapes meet the rectangle’s edges. Is the tree closer to the side than you drew it? Does the roof occupy more of the view?
Quick check: Did you keep adding subjects until the crop became too complicated? If so, draw another smaller rectangle and include less.
If the window view does not appeal, use a shelf or the corner of a room instead.
6. Project five: make a texture sampler from one object
Focus: Exploring marks rather than producing one polished picture.
Choose a familiar textured object: a folded towel, a piece of corrugated cardboard, a stone you already own or a crumpled paper bag.
Getty’s observational drawing lesson asks learners to examine shape, surface pattern and texture before drawing. Use that approach here, without the lesson’s scientific measurements. (getty.edu)
Minutes 0–3: look closely. Find three different features: perhaps a broad fold, a tiny crease and a rough edge.
Minutes 3–12: fill three small boxes.
- In the first, try loose curved or scribbled marks.
- In the second, use separate parallel lines.
- In the third, cross one set of lines with another.
The National Gallery identifies scribbling, hatching and crosshatching as different drawing techniques. Its everyday-object lesson notes that closer hatching lines make an area appear darker. (nga.gov)
Minutes 12–15: compare the boxes. Which marks would you choose for the object’s surface? Label a favorite, or use two kinds together in one tiny sketch.
Quick check: Are you trying to depict every fiber, bump or crease? Choose one small patch instead.
This project can stand alone as a page of marks. It does not need to become a complete object drawing.
7. Troubleshoot one thing, not the whole page
When a drawing disappoints you, choose a specific check rather than judging the entire result.
“The shape looks wrong.”
Return to the largest relationships: height compared with width, the size of one part compared with another, and the position of the object on the page. Make a second small sketch before committing to details.
“My outline is scratchy.”
Try a fresh version using fewer repeated strokes. The National Gallery’s contour lesson specifically warns that repeatedly going over a line produces a scratchy effect rather than a continuous line. (nga.gov)
“Everything is equally gray.”
Return to the three-tone key. Choose where to leave paper bare and where to place your darkest patch, following Getty’s light-to-dark value exercise. (getty.edu)
“I keep erasing.”
For the next attempt, set yourself a different rule: leave the first lines visible and add a correction beside them, or start another thumbnail. You can decide later which approach you prefer.
“I ran out of time.”
Stop at the outline, leave out decoration or write down what you would add next. The session limit is a way to keep the commitment small, not a requirement to finish.
8. Adapt the session and choose an optional next step
Treat the setup as adjustable. Try one change at a time:
- Draw larger if tiny details are awkward.
- Turn or reposition the paper instead of keeping it fixed.
- Use a pencil shape or removable grip that feels comfortable to you, if you already have one.
- Use tape or a clip to hold loose paper in place.
- Pause between marks rather than keeping the pencil moving continuously.
- Choose an object you can see without repeatedly changing position.
These are options to try, not guarantees of comfort or treatment for a hand condition. Stop if drawing is uncomfortable; there is no reason to push through a leisure session.
For a shorter version, spend one minute looking, three minutes drawing and one minute checking a single feature. Alternatively, split a project across several sittings or stop after the looking stage.
If you want to continue, repeat the project you enjoyed most. Change just one thing: the object’s angle, the crop or the kind of mark you use. If drawing with someone else, share one detail each person noticed rather than ranking the pictures.
Your next page can be another mug, another leaf or something entirely different. You do not need a daily schedule—or new supplies—to make it worth doing.