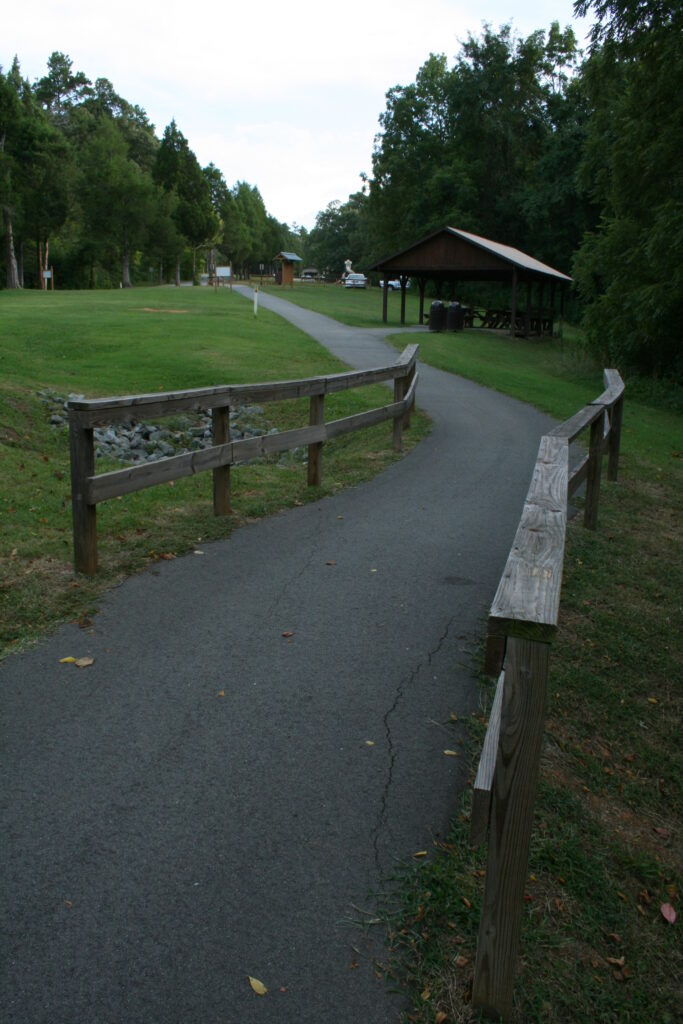
Quick answer: Choose a nearby route around places where you can comfortably pause, rather than starting with a distance target. Check the paths, crossings, slopes, seating and toilets; then confirm weather, daylight and the journey home. Build in an early turnaround or verified shortcut. Treat maps and “accessible” labels as starting points—not confirmation of today’s conditions or suitability for you. Official walkability and accessibility guidance emphasizes checking specific route features. (nhtsa.gov)
1. Start with what would make the outing enjoyable
Decide what you want from the walk before drawing a route. Perhaps it is a conversation, a look at front gardens, a chance to photograph interesting doors or a quiet pause outdoors.
Then write a simple preference statement:
“I’d like to see ___, avoid ___, and have somewhere to sit before deciding whether to continue.”
That is more useful for this outing than a step count. You are planning leisure, not setting an exercise prescription.
Consider these choices:
- Atmosphere: Would you prefer a quiet residential street, a lively shopping area or a small park?
- Company: Are you going alone, with someone who enjoys stopping frequently or with children who need something to notice?
- Comfort: Do you want shade, shelter from wind, firm paths or minimal road crossings?
- Flexibility: Would returning along a familiar path feel easier than completing a loop?
For a shared outing, agree that anyone can ask to stop or shorten it without explanation. Ask what each person needs rather than assuming that age, appearance or a mobility aid tells you.
Keep spending optional. Work out transport, parking and any planned café purchase separately; do not make buying something the only way to obtain a rest.
2. Use official route information, then investigate the gaps
Start with your municipality’s transport or parks website. Look for walking maps, individual park pages, restroom information and roadworks or path-closure notices.
These resources serve different purposes. For example, Portland’s transport bureau offers walking maps showing parks, restrooms, public art and other points of interest. Its parks department provides trail maps and a separate route to closure information. That distinction is useful wherever you live: a map describes a place, while a notice may explain why part of it is unavailable. (portland.gov)
Use this order:
- Find a promising route on an official map.
- Check the managing authority’s notices for closures, maintenance and access changes.
- Identify unanswered questions, especially about seating, slopes and toilets.
- Ask the authority or make a brief reconnaissance visit if those details determine whether you can enjoy the outing.
Do not assume an attractive line on a map is a continuous usable path. NHTSA’s walkability checklist includes missing sidewalk sections, cracked surfaces and blocked paths. Portland’s closure notices also illustrate why temporary diversions deserve scrutiny: a bypass can include steps. (nhtsa.gov)
Treat street-level photographs as clues, not current confirmation. If an image shows a bench or a clear sidewalk, put “check this” in your notes rather than “guaranteed.”
When requesting information, be specific: “Is there a step-free path from this entrance to the seating?” will help more than “Is the park easy?”
3. Check the surface, slopes and crossings—not just the distance
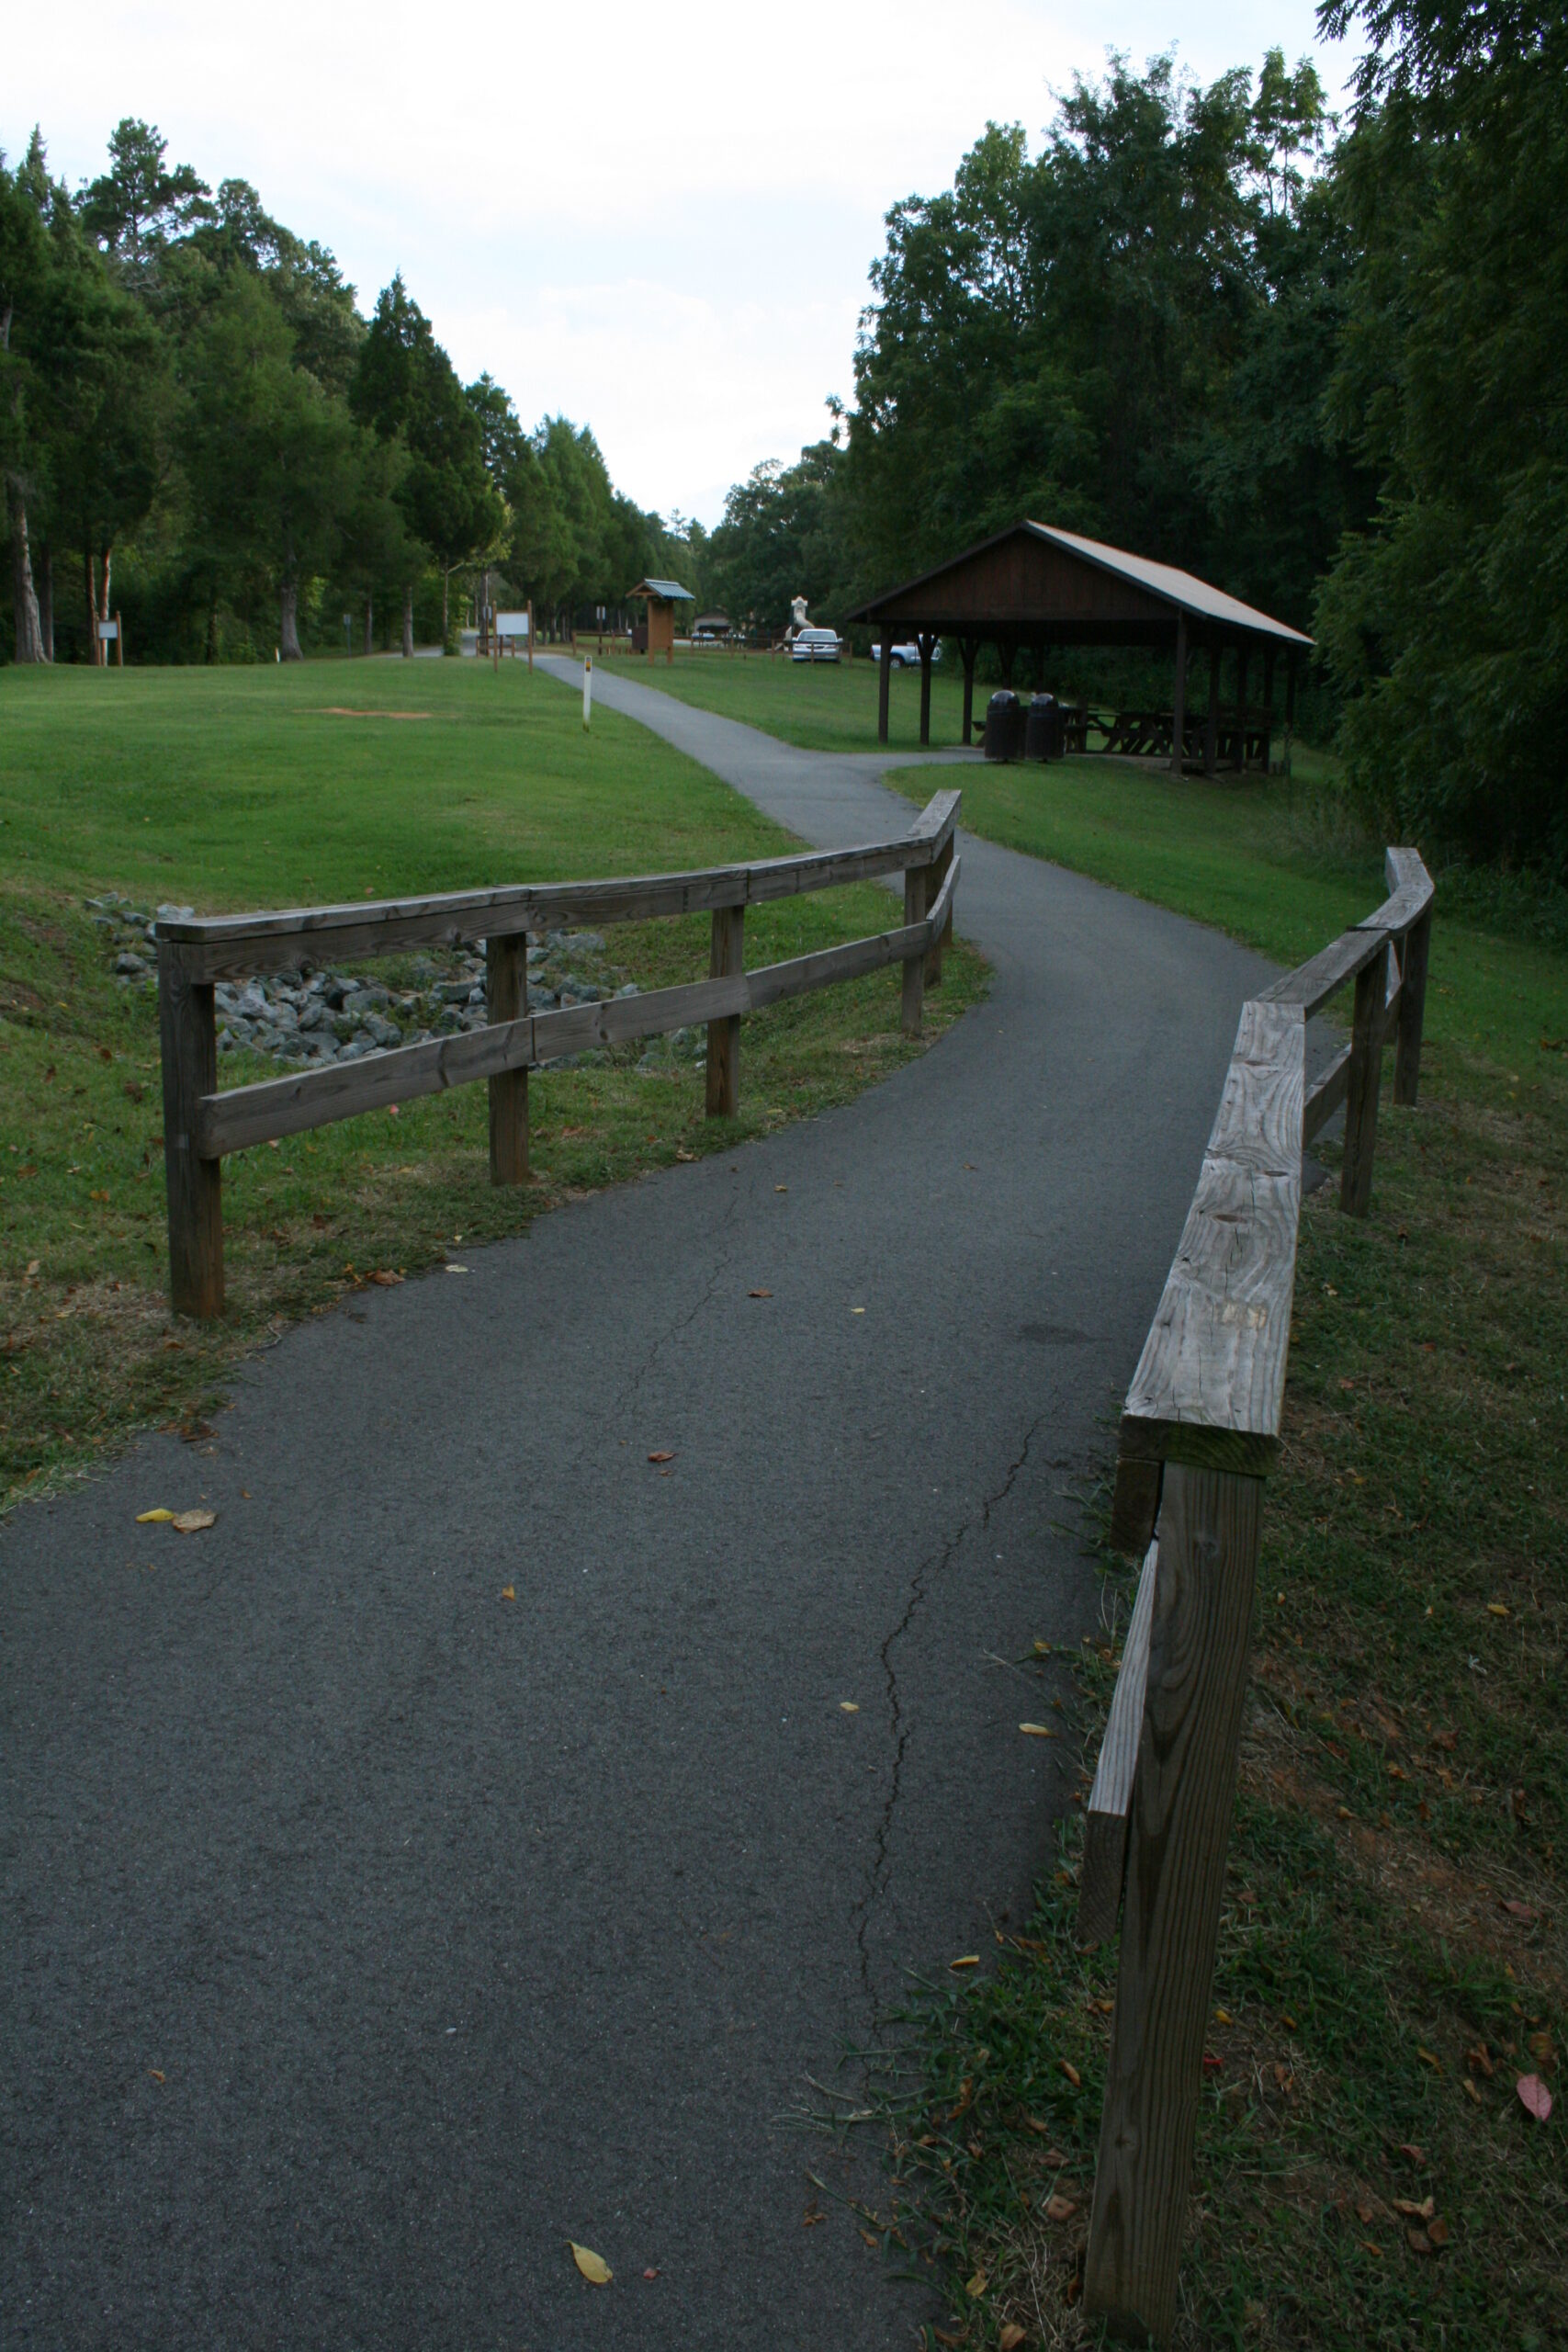
Inspect the route in small sections. Include the approach from your front door, parking space or transit stop, not only the pleasant part inside a park.
For surfaces, look for sidewalk gaps, cracks and obstructions. These are among the practical problems identified in NHTSA’s walkability checklist. If a section appears unsuitable, choose another route rather than assuming you can work around it on arrival. (nhtsa.gov)
For slopes, ask about both uphill or downhill gradient and sideways tilt, also called cross slope. The U.S. Access Board’s guidance for federal outdoor developed areas treats surface, width, obstacles and both kinds of slope as separate characteristics. It also explains that some compacted natural surfaces can be firm and stable: “unpaved” alone does not describe usability. These are useful questions to ask, not a claim that federal trail standards apply to every neighborhood sidewalk. (access-board.gov)
At crossings, use NHTSA’s basic guidance:
- Use sidewalks where available.
- Cross at crosswalks or intersections and obey signs and signals.
- Stay alert to turning vehicles, cyclists and other pedestrians.
- Watch vehicles entering driveways or backing out.
- Where a driver is yielding, wait for a clear, complete stop before crossing. (nhtsa.gov)
For a gentle outing, consider rejecting a route that requires walking along a road without a sidewalk. You do not have to make a technically possible route part of your leisure plans.

4. Plan around usable seats and confirmed toilets
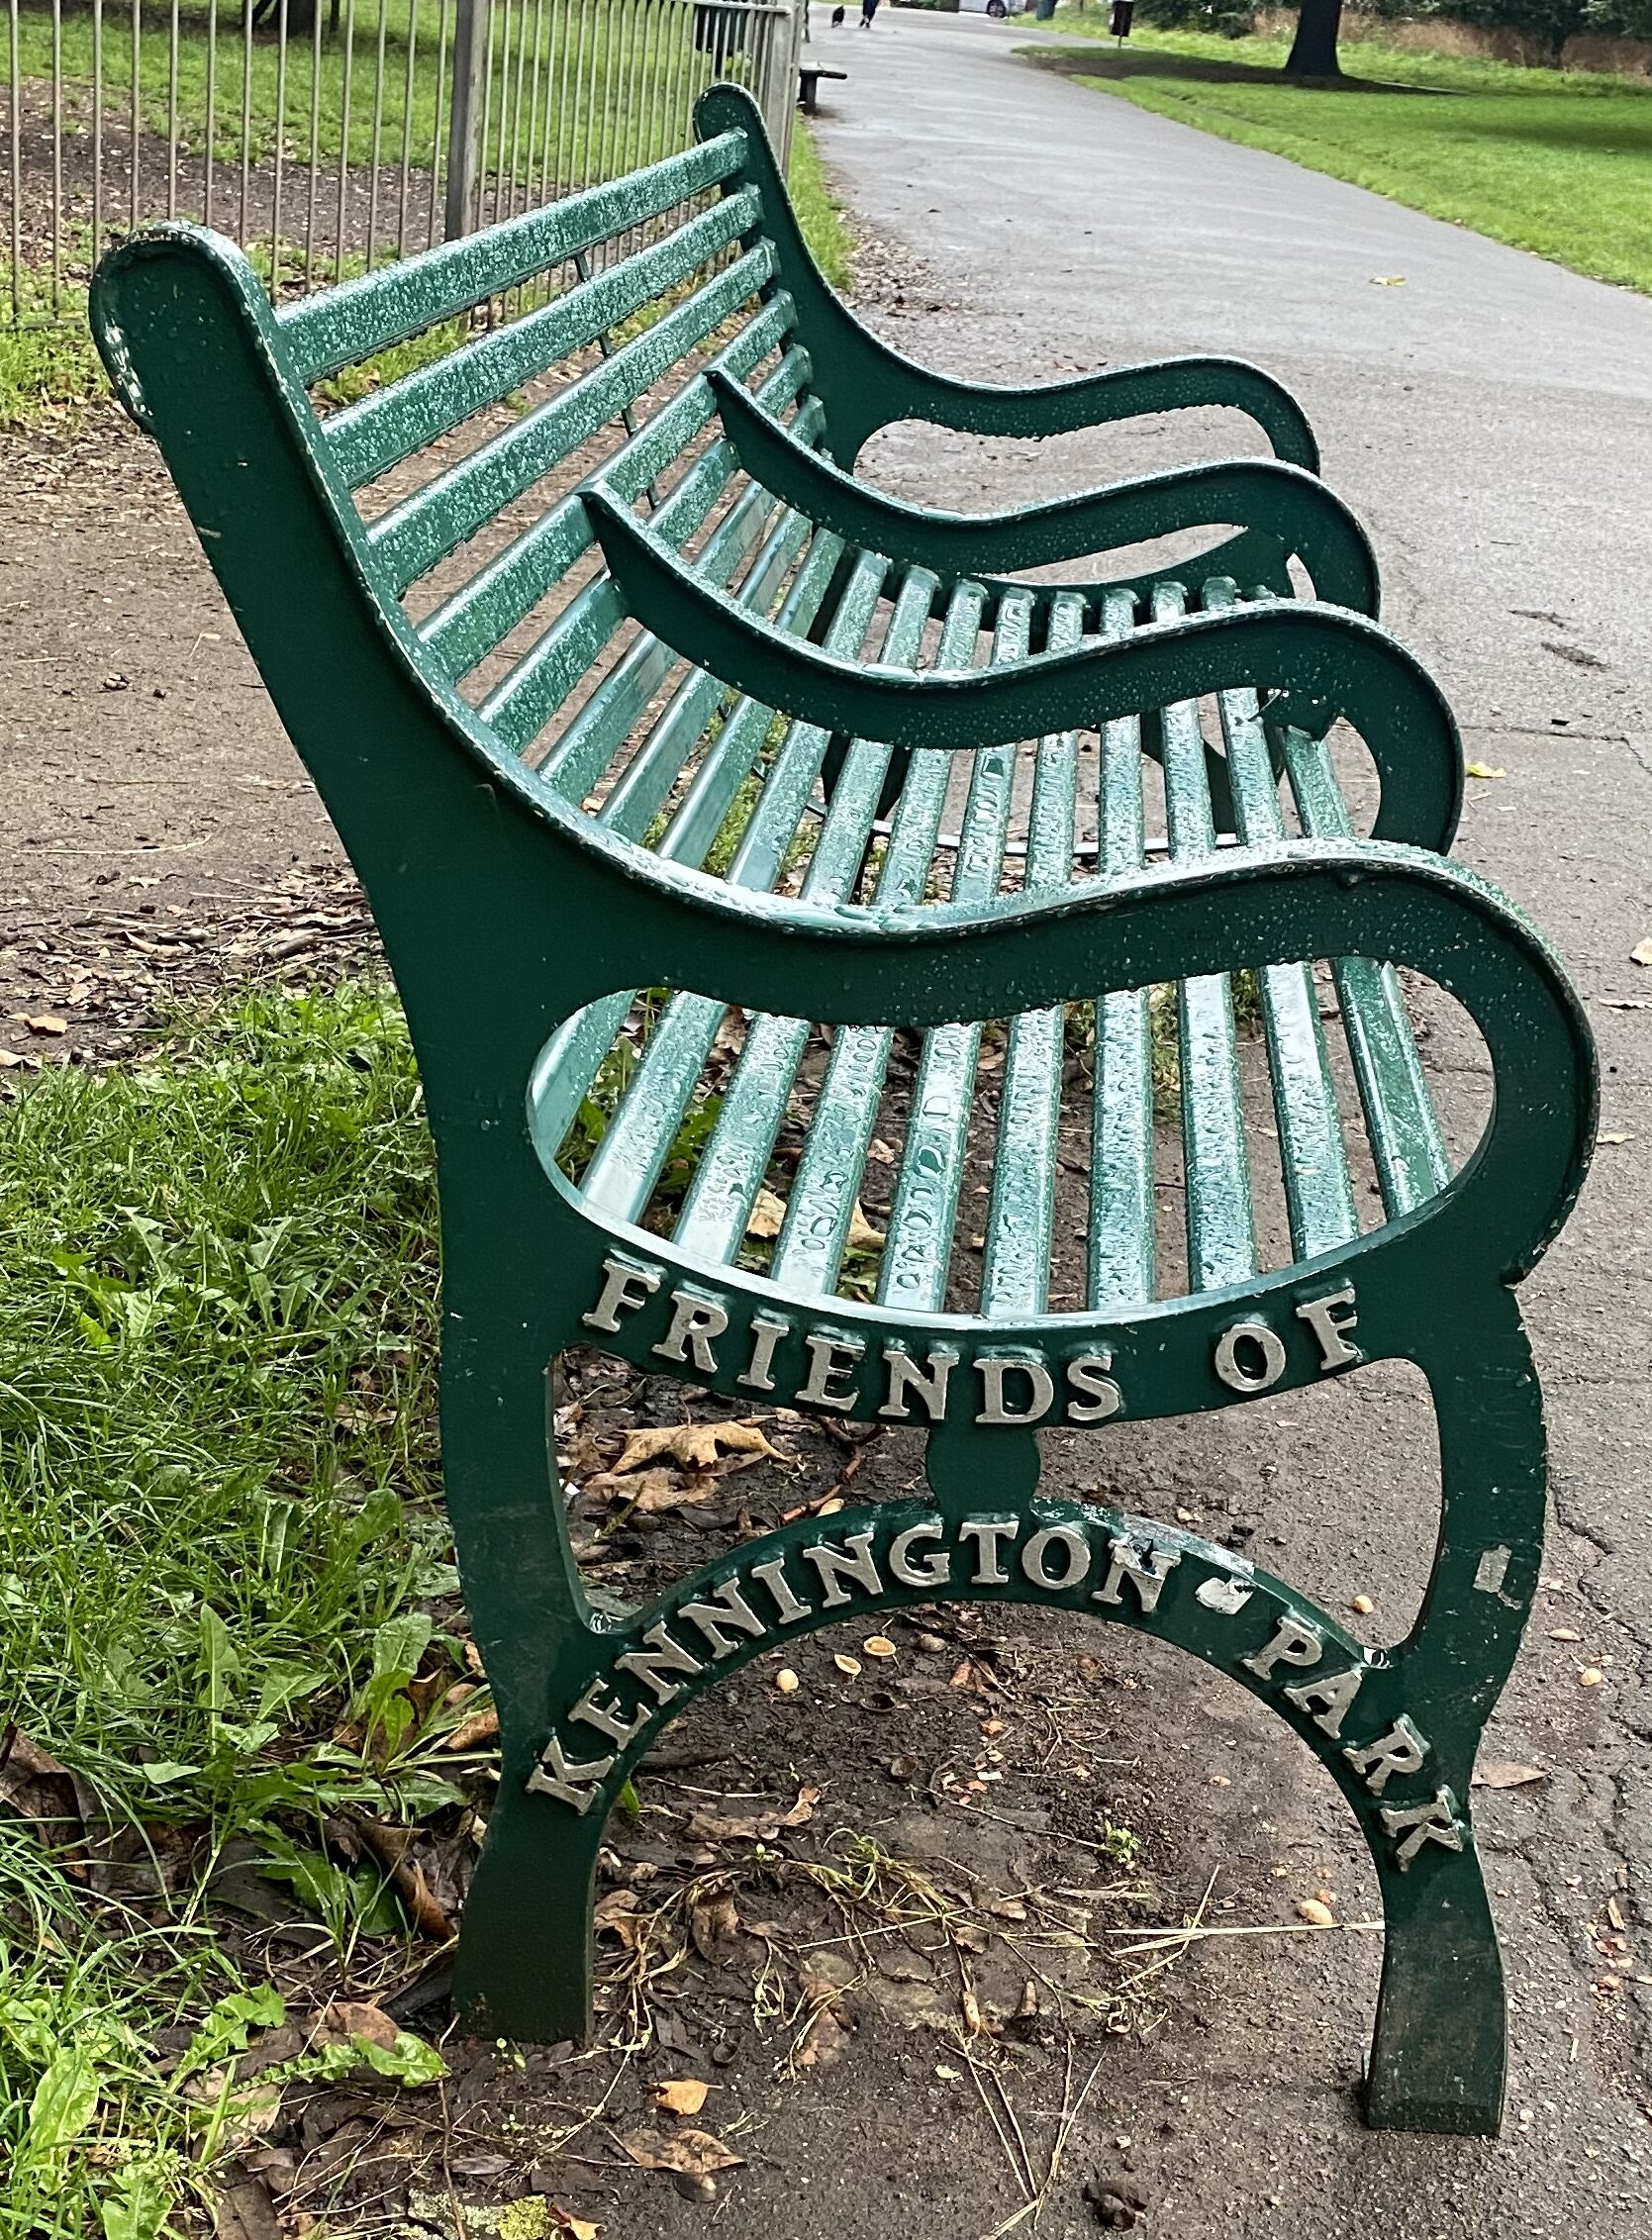
Make rest stops the main points on your route. Mark where you expect to pause, then examine the stretch between each stop.
A useful planning question is:
“If I wanted to sit sooner than expected, what would I do?”
Possible answers include returning to the previous seat, using another confirmed seating area or ending the walk at a nearby pickup point. “Keep going and hope” is not a useful fallback.
Check seating details that matter to you:
- Is there a backrest or an armrest?
- Can you reach the seat without steps or an unsuitable surface?
- Is there space beside it for a mobility device or stroller without blocking the path?
- Would you prefer shade, sun or somewhere away from traffic?
- If it is occupied, is there another suitable place nearby?
These are personal selection questions, not a universal definition of a good bench.
For toilets, verify the location, opening arrangements and access from your route. If relevant, ask about a step-free entrance, changing facilities or space for assistance. Do not rely on an unverified shop or café as your only toilet option.
A published “accessible” label should prompt a closer look, not end the planning process. The Access Board emphasizes providing route characteristics so people can decide whether a trail suits their abilities. Apply the same principle here: compare actual features with your own requirements. (access-board.gov)

5. Match the outing to weather, daylight and transport
Check the local forecast shortly before departure, including warnings and the conditions expected during your return. The supplied Recreation.gov planning guidance likewise recommends checking weather and managing-agency updates before an outdoor visit.
Heat: Consider postponing or changing the plan during a heat advisory. The National Weather Service advises avoiding outdoor activities during an extreme heat warning, especially in the heat of the day. A shaded bench is not a reason to disregard an alert. (weather.gov)
Thunderstorms: If you hear thunder, move indoors or into a suitable enclosed hard-topped vehicle. The National Weather Service says to remain sheltered for 30 minutes after the last thunder. Trees, covered patios and open pavilions are not adequate lightning shelters. Do not treat a park’s picnic roof as your storm backup. (weather.gov)
Rain or cold: Reconsider the outing if you cannot confirm that the surfaces and seating are usable in the conditions. Respect closure signs rather than attempting an improvised detour; managing-authority guidance warns that conditions can change quickly. (portland.gov)
For daylight, check local sunset information and plan your return with room for pauses. Also check gate and facility closing times: daylight does not tell you whether an entrance or toilet will remain open.
Transport belongs in the route plan:
- Where will you start and finish?
- Does the return journey require another crossing or uphill stretch?
- Have you checked the relevant transit operator’s service information?
- If someone is collecting you, is there a suitable agreed pickup point?
If going alone, consider sharing your route and expected return with someone. Keep the information you need—route, return arrangements and any useful contact—available without relying entirely on mobile reception.
6. Build a loop with a shortcut: a worked planning example
This is an adaptable planning example, not directions for a real location. It uses landmarks rather than invented distances or walking times.
Suppose you want to look at gardens and sit outdoors. Your candidate route contains an entrance, two seating areas and a connecting path.
The proposed layout is:
Entrance → first seat → garden-side path → second seat → return path → entrance
A connector from the first seat back to the entrance could provide the shortcut.
Before using this layout, check the full loop and the connector. The shortcut is only useful if it is open and suitable for you. Route width, surface and slope should be checked independently; a shorter path is not automatically the better one. (access-board.gov)
Then make a simple decision plan:
| Decision point | Main plan | Shorter option |
|---|---|---|
| At the entrance | Check notices and the first section | Stay near the entrance or leave |
| At the first seat | Pause, then decide whether to continue | Take the verified connector back |
| Before the garden-side path | Check that the next section looks suitable | Return along the section already used |
| At the second seat | Pause before heading back | Use an agreed pickup option, if genuinely available |
Check whether completing the loop introduces a crossing or slope that the outward section avoided. If the shortcut remains uncertain, choose an out-and-back to the first seat instead.
The plan should work without reaching every landmark. Seeing one garden and enjoying one pause is a complete outing.
7. Make a final check—and keep a seated alternative
Before leaving, run through this checklist:
- Route: Have I checked current notices, including the shortcut?
- Ground: Do I know enough about the surface, slopes and obstacles?
- Crossings: Am I comfortable with the crossing arrangements?
- Rest: Are there suitable seats and a fallback if one is occupied?
- Toilets: Have I confirmed any facilities I am relying on?
- Timing: Have I allowed for pauses, daylight and closing times?
- Return: Can I get home without completing the full route?
Avoid three common planning mistakes: counting only the park portion, assuming a diversion is usable and making the next bench the point at which you must decide to stop. Check the approach, investigate diversions and make decisions while a comfortable return remains available.
Keep a seated version of the same outing ready. Choose a confirmed, reachable seat near the arrival point and spend the visit looking at plants, sketching, reading or chatting. Check its access and the journey home just as carefully as you would for the walk. Choose an indoor alternative when weather guidance makes outdoor time unsuitable. (access-board.gov)
Afterward, note what you would repeat and what you would change. The best next step may be the same short route with a different view—not a longer walk.